Functional Testing with BMC AMI DevX Total Test – PL/I
This tutorial will provide you with experience using BMC AMI DevX Total Test to execute a functional test for a batch PL/I program.
Getting Started with BMC AMI DevX Total Test
The goal of this Test Drive section is to provide you with experience using BMC AMI DevX Total Test to execute a functional test in both batch and CICS environments.
This test drive will take you through the following activities:
- Executing a batch PL/I functional test via the BMC AMI DevX Total Test (Total Test) web interface.
- Create a test case using BMC AMI DevX Total Test via BMC AMI DevX Workbench for Eclipse (Workbench).
- Executing a PL/I functional test using BMC AMI DevX Total Test via BMC AMI DevX Workbench for Eclipse.
Instructions:
- This guide contains many screenshots to provide a visual reference.
- Every action you must take is in blue.
- Please note each place that you must enter your own specific ID or number.
- You must complete each step before proceeding to the next to successfully follow the guide.
Terminology
During this Test Drive you will encounter terms specific to Total Test. Here is a glossary for your convenience.
Term | Description |
Connection | Specifies the location (i.e. IP address) and other properties to connect to the host (LPAR). |
Environment | Contains additional information such as Batch, CICS, and Db2 settings for the target environment in which the component will execute. |
System | Specifies the default source and load libraries to be used to define components. Can also contain additional information for Db2 and/or JCL definitions. |
Component | A module that you want to test. |
Categories | A way to filter the components list. |
Restarting This Script
At any point should you need to restart this Test Drive script, follow the instructions below:
Using the Web Interface – You can just start the script from the beginning. There is nothing you need to reset.
Using the Eclipse Interface – In the Project Explorer pane, select the Functional Test project you want to start over, right click, and select Delete. You can then restart the script from the beginning of the Eclipse Interface section.
Functional and Integration Testing
Total Test supports the functional testing of live load modules on an LPAR in batch and CICS using live data. Programs can be written in COBOL, PL/I, or Assembler. Functional tests are defined in a test scenario and the user can manually enter specify input and expected output data for the linkage section of the module.
Developers use a test scenario to execute functional tests for live program testing. Test scenario elements can also be used to create a sequence of steps (e.g. set up data in datasets and Db2) before testing programs, execute live programs by providing input data and verify output data, and finally verify data created by the program in Db2 and datasets. This approach can also be used to test complex batch jobs.
BMC AMI DevX Total Test – Web Interface
To get started in Total Test, do the following:
In Topaz, click on "Run → External Tools → Firefox" in the menu bar to launch a Firefox browser externally.
This will display the Login page for BMC AMI Common Enterprise Services (CES).
Do This
Enter your assigned Test Drive ID (i.e. cwezxxx) and your assigned password and click Login.

You will see the web interface as shown in the screen shot below.
Do This
Click on the "BMC AMI DevX Total Test" box (see screen shot).

This will bring you to the Web Interface of Total Test.

Do This
At the top of the menu on the left-hand side, click on Component repository.

Do This
Next, click on Components.

NOTE: This screen may look different in your session, as all Test Drive users share a common repository. Your view may contain more or fewer components at any time.

For the purposes of this Test Drive, it is safe to assume that the administrative tasks, such as defining connections between Total Test and the BMC mainframe have been previously completed. BMC has also pre-defined several sample components for use with this script.
For our first test we will execute a batch PL/I program called CWXTSBP.
Do This
Click on CWXTSBP in the list of components.

Now we can see information about this component and how it was defined to Total Test, including the System and the Environment.

Scrolling down the component definition you can see that the Main source library and Main load library have default values. These were picked up from the System called TEST DRIVE. You can override values picked up from the System definition on the component screen.

Scrolling down further we can see the Data structure for this program. There are three fields in our data structure: emp_type, sales_amount, and comm_total. These are fields in which data is passed to and returned from this program.

Do This
Scroll to the top of the page, and in the upper right-hand corner click on Goto Execute.

The Execute screen has three columns of interest – Value, Expected, and Result.

Do This
If the Host Credentials screen appears, enter the TSOID and password that were provided to you and click OK.
Do This
For our test, enter an M for emp_type, 450000 for sales_amount, and 18000 for comm_total. Then click on the green Execute button in the upper right-hand corner.

NOTE: The 'M' for emp_type MUST be entered in upper case for the test to execute successfully.
The component is now being executed on the mainframe.

You can see a green bar across the top that says, "Execution successful", as well as in the result column you can see that the Result value in the comm_total field matches the Expected value we had entered.
If you wish, you can try a second test with the following values: emp_type=S, sales_amount-100000, and comm_total=10000.
That's it! You have successfully executed a functional test via the Total Test web interface.

BMC AMI DevX Total Test – Workbench for Eclipse
Next, we will build and execute a test via the Eclipse Interface under Workbench for Eclipse.
Do This
Click on the Switch Windows icon to display the open windows in your AWS session.

Do This
Click on the Workbench for Eclipse application to make this your active window.

Do This
If the Total Test perspective is not open, click on BMC and select Total Test.

Your screen may look different depending upon what other Test Drive scripts you have executed prior to this session. If you see the screen below, check the box that says "Don't show when switching to Total Test". Then click the X to close this tab.

Your screen should look like the one displayed below:

Do This
Click on the Repository tab, then click on the refresh icon (two yellow arrows) to load the data from the Total Test repository

Do This
If the "Common Enterprise Services Login" window appears, enter your assigned Test Drive ID and password in the appropriate fields. Click OK.

To create a test case using the Total Test Eclipse Interface, first we must create a Total Test Project. You can store all test cases in a single project if you wish, or you can have multiple projects. The choice is up to you.
NOTE: If you have previously executed the Total Test Test Drive for COBOL, you may have an existing Total Test Project in your Project Explorer. You may add test cases to this existing project, or you can create a new project just for the PL/I test. This script will show the steps necessary to create a new project from scratch.
Do This
In the Project Explorer pane, right click and select New/Project.

Do This
Expand the BMC category and select Total Test Project and click Next.

Do This
In the Project name field enter "TEST_DRIVE_TESTS". In the Folder field enter PLI and click Finish.

You will see the Scenarios folder that was created for us under the PLI folder.
Do This
In the Project Explorer, expand the TEST_DRIVE_TEST and then the PLI folder.
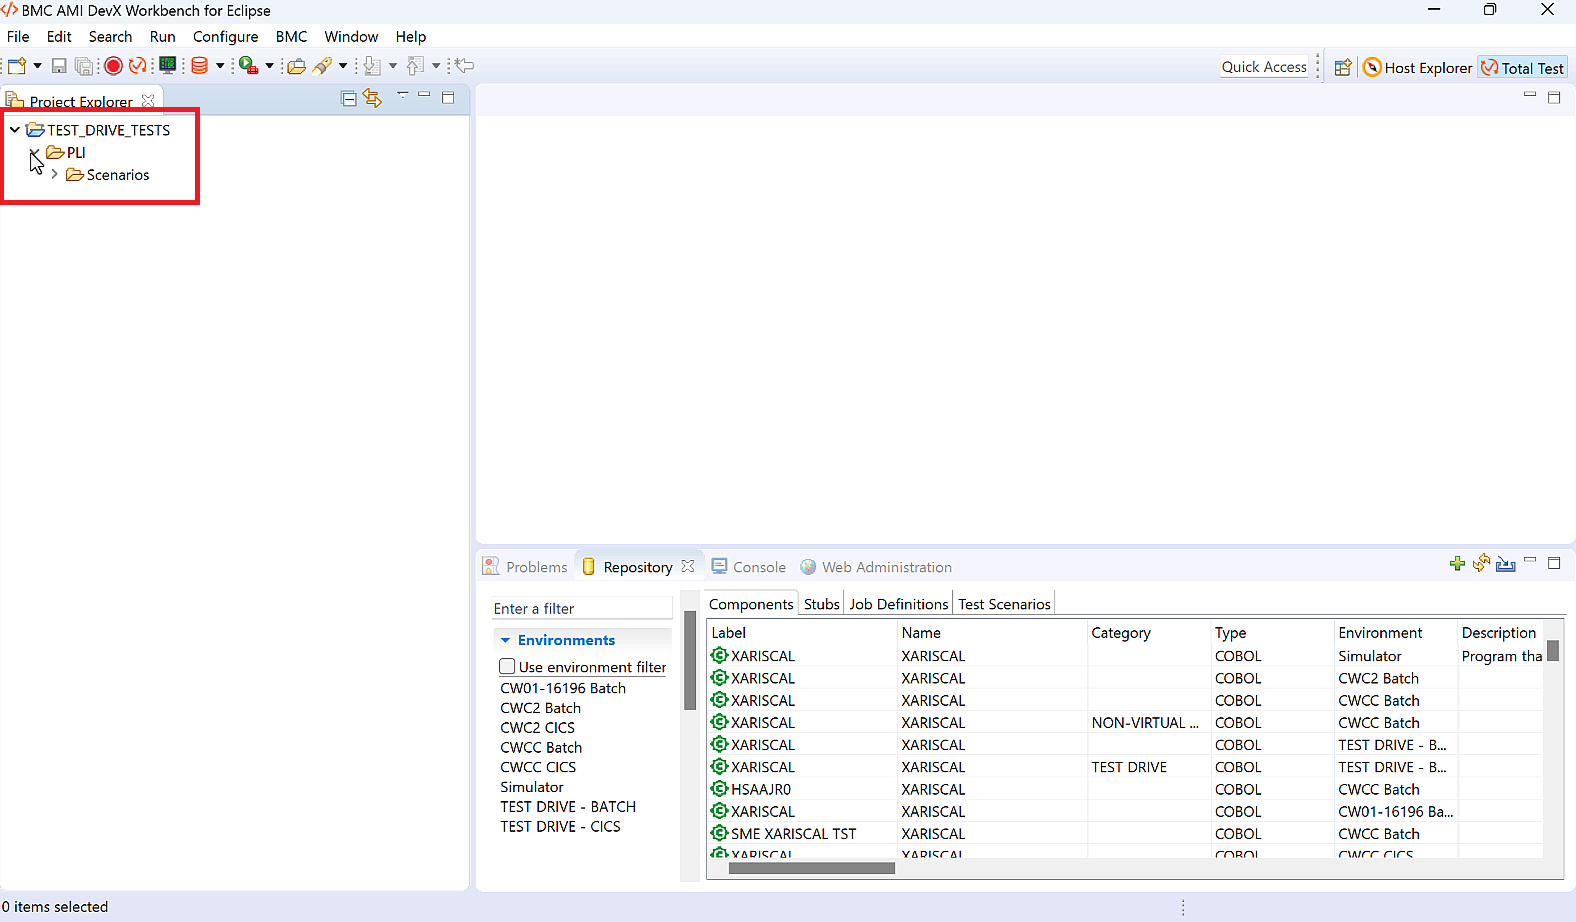
Do This
Click on the Scenarios folder under the PLI folder.

We are going to create a functional test for a PL/I batch program.
Do This
In the Repository pane, right click on the component CWXTSBP. Click on "Create Total Test Scenario".

Do This
Click Finish.

In the Project Explorer you can expand the Scenarios folder to see we have created two files. The .scenario file will contain the test case details. The .context file will contain execution information. Because we selected the CWXTSBP component from the repository tab it automatically included it as a Functional Test element in our test case.
Do This
Click on the Component name (CWXTSBP) in the CWXTSBP.scenario Test Scenario window.

This will display the Element Properties window to the right.

We need to supply data as we did in the Web interface earlier.

After entering in the values as show above, save this test case by either clicking on the save icon on the tool bar or by hitting Ctrl+S on your keyboard.
NOTE: The value for emp_type MUST be in Upper Case.
Do This
To execute this test case, click on the green arrow in the upper right-hand corner.

The Execution Context window is displayed.
Do This
Click Run.

Do This
Enter your Test Drive ID and password that were provided to you in your welcome email. Click OK.

You will see a status bar as the test is executing on the mainframe.

The execution was successful! In the Output Data window you can see that the Expected Value we entered for comm_total is equal to the actual value returned at the completion of execution.

You are done! As a part of this exercise, you have been able to use BMC AMI DevX Total Test to:
- Execute a batch PL/I functional test via the Total Test web interface
- Create a test case in the Total Test perspective via Workbench for Eclipse
- Executing a PL/I batch functional test in the Total Test perspective via Workbench for Eclipse
Congratulations! This completes the Total Test tutorial for BMC Test Drive.
Next Steps
Should you wish to restart this Test Drive script, follow the restart instructions at the beginning of this script.
For more information about "Mainstreaming the Mainframe" visit our Mainframe DevOps site.
Comments
Log in or register to comment.