Installing software as a part of an Azure service offering
You can install additional software on the virtual machines (VMs) that are provisioned using the Azure Provider. You can create single-tier or multi-tier offerings.
This topic contains the following sections:
Before you begin
- Ensure that the BMC Server Automation jobs exist. For more information, see Creating a BMC Server Automation Deploy Job or an application component template.
Ensure that the Definitive Media Library (DML) entries are auto-onboarded when the provider is registered.
Ensure that the RSCD Agent is installed in a VM that was provisioned in the Azure Provider before installation.
To create a custom image of a VM with RSCD agent
You must create a custom image in the Microsoft Azure management portal of a VM with the RSCD agent installed in it. For more information, see Creating and Uploading a Virtual Hard Disk that Contains the Windows Server Operating System.
Note
Microsoft Azure allows you to create custom images using the Virtual Hard Disks (VHDs) of a storage account and also by capturing the image of an existing VM using the CAPTURE  feature in Microsoft Azure portal (See http://azure.microsoft.com/en-us/documentation/articles/virtual-machines-capture-image-windows-server/ for details). In Azure Provider, the VMs provisioned using a custom image are then placed in the same storage account in Microsoft Azure as the one used for creating the custom image.
The following example procedure describes the steps for creating a custom image on the Microsoft Azure management portal. The image is a VM with RSCD provisioned by using BMC Cloud Lifecycle Management.
- Log on to the Microsoft Azure management portal by using your Microsoft Azure user-account credentials.
- Click
 VIRTUAL MACHINES, and select the VM that was provisioned by using the BMC Cloud Lifecycle Management application.
- Click
 and then select Keep the attached disks, as shown in the following figure:
- To confirm the deletion of the VM, click YES.
- Click DISKS.
The disk details of the deleted VM are displayed, as shown in the following figure:
- Select the OS disk of the deleted VM and click and then select Retain the associated VHD, as shown in the following figure:

- To confirm the deletion of the OS disk, click YES, as shown in the following figure:

- Navigate to the Virtual Machines > IMAGES page, and click
 to create a custom image.
The Create an image from a VHD window appears, as shown in the following figure:
- Enter a name and a description for the new custom image.
- Click VHD URL, and select the VHD of the deleted VM, as shown in the following figure:

- Click Open.
- Select I have run Sysprep on the virtual machine associated with this VHD.
- Click OK.
A custom image is created, as shown in the following figure:
To define an Azure service blueprint for installing custom software
Navigate to the Service Designer to specify the software installation as a part of the service offering, and perform the following steps:
- In the Application tab of the Blueprint Editor, select an application component. The Basic Details are as shown in the figure below:

- Click Software Packages and click
 .
.
The following figure shows the Software Packages pop-up window: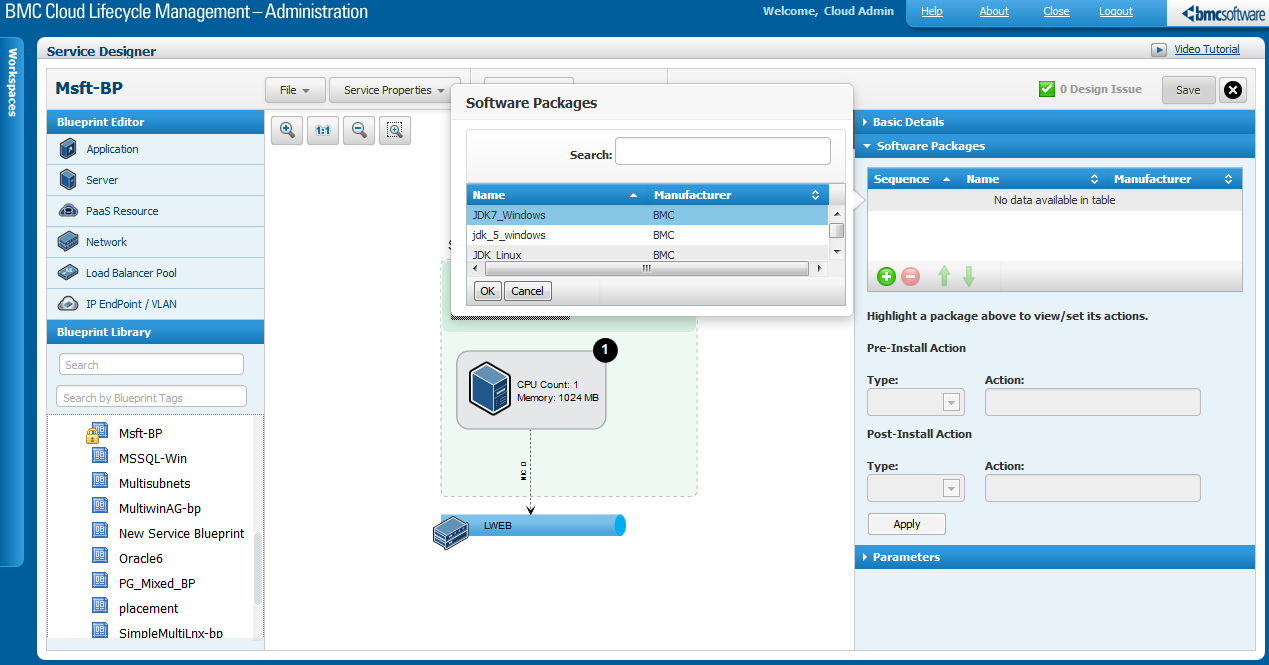
- Select the available software package and click OK.
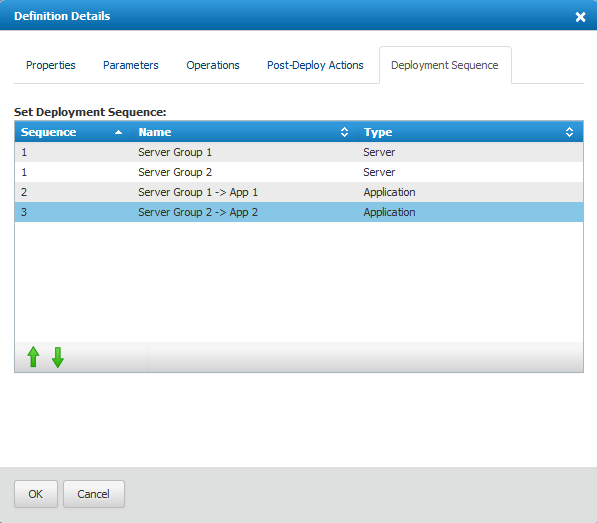
The selected software package is added in the service blueprint definition. - (For multi-tier service blueprint model only) Navigate to the service Definition > Sequencing option, and click the Deployment Sequence tab, and then use the Up and Down arrows to configure the sequence in which service blueprint components are deployed when the service is requested. The following figure shows a definition of software application deployment in a two-tier service blueprint.
- Click Save to save the changes in the service blueprint.
- Check the service blueprint into the Blueprint Library.
Comments
Log in or register to comment.